DIY Smart Water Leak Sensor with ESP32 and Home Assistant: Build Guide
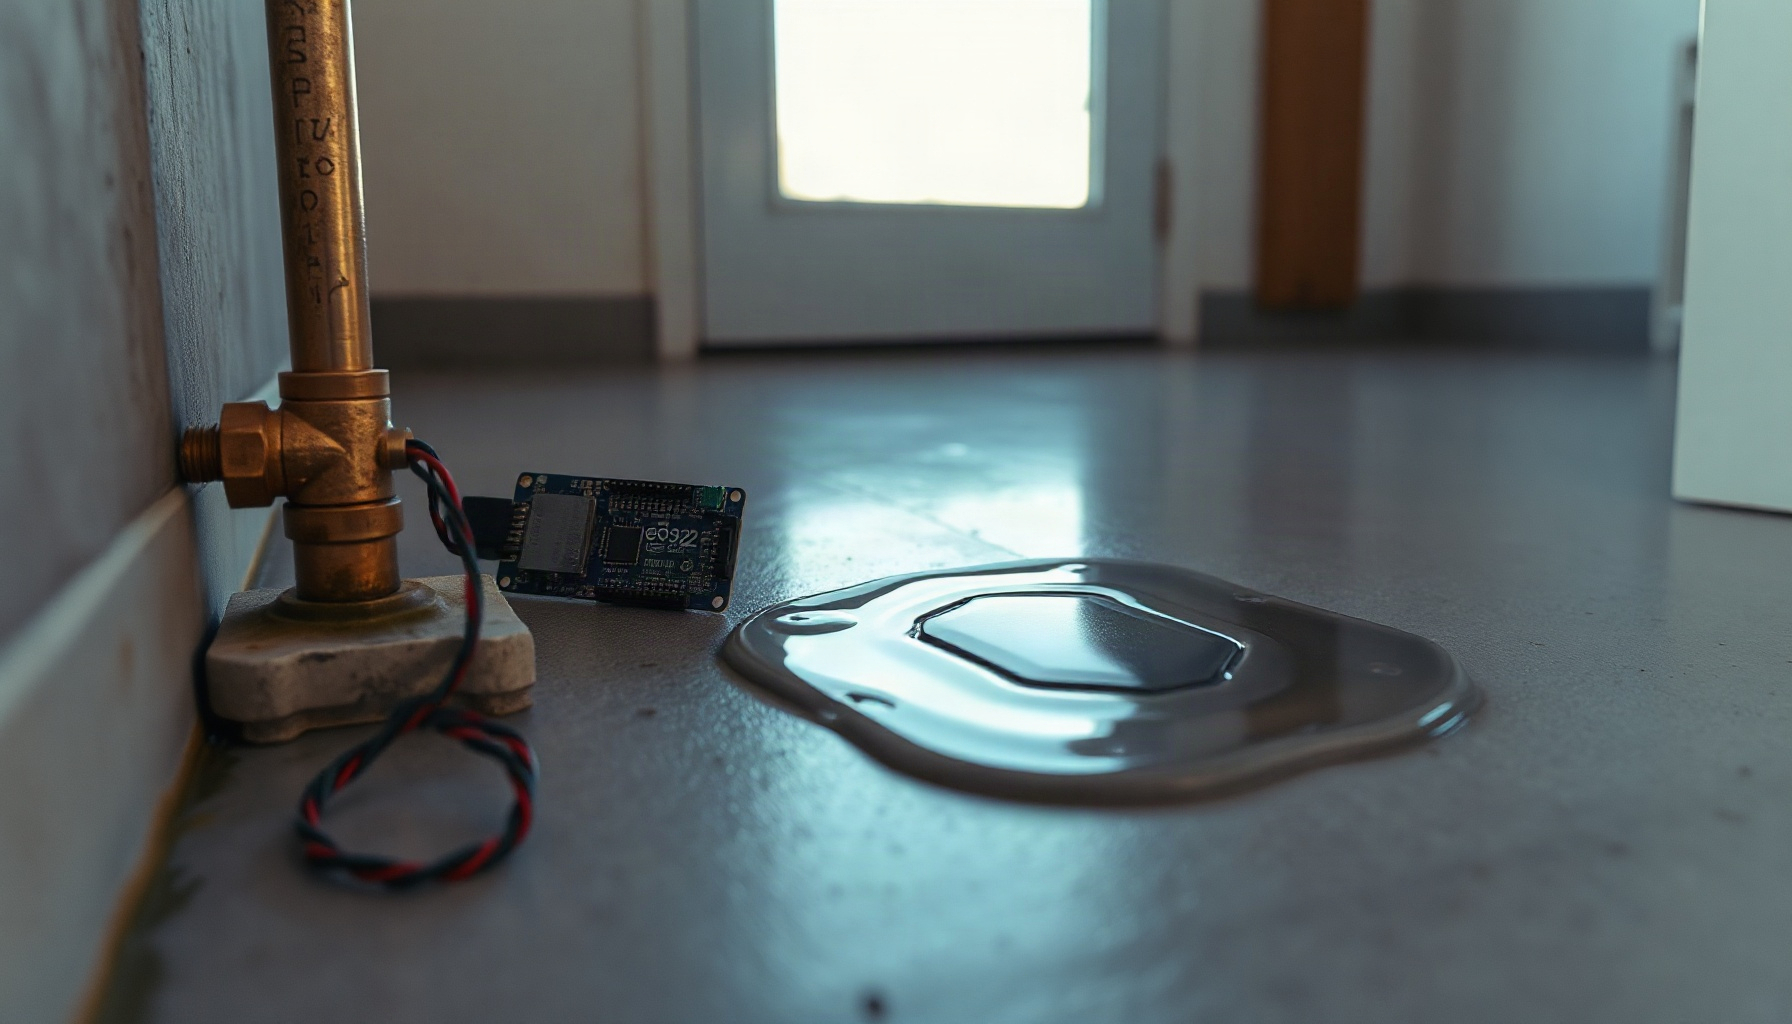
This guide is assembled from official documentation, vendor datasheets, and community build reports — we did not build this unit ourselves. It shows how to wire an ESP32 development board to a Seeed Grove water sensor and run ESPHome so Home Assistant raises a leak alert, with no cloud subscription. Two variants are covered: a mains/USB always-on build (recommended) and a battery build with deep sleep. If you need flashing basics first, read the ESPHome setup guide.
Mains or Battery? Decide Before You Buy
A mains- or USB-powered node is the recommended design. Espressif’s ESP32 datasheet gives 10 µA for chip deep sleep, but a development board adds regulator and USB-serial overhead that no source used for this guide quantifies. Battery operation is therefore a costed option, not the default.
| Approach | Power | Wet-event latency | Runtime reality | Complexity | Choose it when |
|---|---|---|---|---|---|
| Variant A (this build) | USB 5 V / mains | Immediate; Wi-Fi stays connected | No battery to manage | Lowest | An outlet is nearby and you want instant alerts and easy OTA |
| Variant B (this build) | 150 mAh LiPo + deep sleep | Seconds: wake, boot, join Wi-Fi | Depends on unknown board overhead (see the runtime section); not a multi-year node | Adds deep_sleep, divider, battery care | No outlet nearby and you accept a check-in cadence |
| Commercial Zigbee/Thread puck | Coin cell | Immediate over mesh | Vendor-claimed multi-year coin cell | None: pair and mount | Fit-and-forget use, or no Wi-Fi reach |
For unattended multi-year battery use, a commercial puck is the better answer. See our water leak detection guide for comparisons. This guide recommends Variant A.
Parts
The parts list needs an esp32dev-class board, a Seeed Grove water sensor, and jumper leads. Two prices were verified for this guide, both from Adafruit: the HUZZAH32 at $19.95 and the 150 mAh LiPo at $5.95. Any esp32dev-class board that breaks out GPIO25 and GPIO34 can substitute; its price was not verified. Passives are generic.
| Part | Exact model / Product ID | Qty | Price (verified 2026-11-07) | Source | Notes |
|---|---|---|---|---|---|
| ESP32 dev board | Adafruit HUZZAH32 – ESP32 Feather Board, PID 3405 | 1 | $19.95 ($17.96 at 10–99; $15.96 at 100+) | adafruit.com/product/3405 | WROOM32-based, 4 MB flash, USB-to-serial, automatic bootloader reset, LiPo charger. Battery and USB cable not included |
| Water sensor | Seeed Grove Water Sensor (V1.1, July 2014) | 1 | Not verified this run | Seeed wiki | Conductivity pad with 1 MΩ pull-up. Spec 4.75–5.25 V; this guide runs it at 3.3 V, a below-spec deviation |
| LiPo battery (Variant B only) | Adafruit 3.7 V 150 mAh, PID 1317, JST 2-PH | 1 | $5.95 | adafruit.com/product/1317 | Matches the board’s battery connector |
| USB data cable | Not included with board | 1 | Not listed | Assorted, from any electronics supplier | Needed for flashing and Variant A power |
| 100 kΩ resistors (Variant B only) | Two required | 2 | Not listed | Assorted, from any electronics supplier | Battery divider |
| Status LED (optional) | LED with ~330 Ω series resistor | 1 | Not listed | Assorted, from any electronics supplier | Only if the board lacks an LED on the status pin |
| Enclosure and leads | Grove-to-jumper leads, enclosure | 1 set | Not listed | Assorted, from any electronics supplier | Keep electronics above the water path; never seal the sensing pad |
Wiring and Pinout
The sensor signal goes to GPIO25, which is RTC-capable so a sleeping chip can wake on water. The battery divider goes to GPIO34, an ADC1 pin. Both variants power the Grove sensor from 3V3, because its pull-up ties SIG to the supply rail; powering it at 5 V would put about 5 V on a 3.3 V GPIO.
| ESP32 pin | Connects to | RTC-capable (deep-sleep wake)? | Note |
|---|---|---|---|
| GPIO25 | Grove SIG | Yes; usable as wakeup_pin |
SIG idles HIGH via the 1 MΩ pull-up; water pulls it LOW. Use inverted: true for both the binary sensor and wakeup |
| GPIO34 | Battery divider midpoint (Variant B) | No; chosen for ADC, not wake | ADC1 pin (GPIO32–39). About 2.1 V at a full 4.2 V pack |
| GPIO2 | status_led | Yes | Many esp32dev-class boards have an LED here; check your board’s documentation |
| 3V3 | Grove VCC | — | Seeed lists 4.75–5.25 V; 3.3 V is a flagged deviation |
| GND | Grove GND and divider low leg | — | Common ground is required |
| USB 5 V or LiPo JST | Power | — | Variant A: USB. Variant B: battery on the board’s connector |
Why GPIO25 for the Sensor and GPIO34 for the Battery
ESPHome’s deep_sleep docs list GPIO25 among the RTC pins usable for ESP32 wake, and its wakeup_pin needs a digital edge, so the sensor is read digitally. The ADC docs place ADC1 at GPIO32–39, so the battery divider uses GPIO34. As community practice, builders keep analog reads off ADC2 when Wi-Fi is active; this guide avoids that question entirely.
Firmware: The ESPHome YAML
The board is configured with board: esp32dev as described in the ESP32 platform docs. Variant A below compiles standalone. Replace the !secret entries with values from your secrets.yaml.
Variant A: Mains/USB, Always-On (Recommended)
esphome:
  name: water-leak-sensor
  friendly_name: "Water Leak Sensor — Under Sink"

esp32:
  board: esp32dev
  framework:
    type: esp-idf  # Arduino is equally supported

wifi:
  ssid: !secret wifi_ssid
  password: !secret wifi_password
  power_save_mode: none

api:

ota:
  - platform: esphome

logger:

binary_sensor:
  - platform: gpio
    pin:
      number: GPIO25
      inverted: true
      mode:
        input: true
        pullup: true
    name: "Water Leak"
    device_class: moisture
    filters:
      - delayed_on: 10ms
      - delayed_off: 10ms

status_led:
  pin: GPIO2
The power_save_mode: none setting follows the Wi-Fi docs, which warn that power-saving modes “generally also decrease the reliability of the WiFi connection, with frequent disconnections from the router in the highest power saving mode.” On mains power, reliability matters more than saving energy. The binary sensor uses GPIO binary sensor interrupts by default; the 10 ms filters debounce brief splashes. If your board’s LED is elsewhere, change status_led per its status_led docs.
Variant B: Battery and Deep Sleep
Start from Variant A, then make these edits:
- Add a deep-sleep block (per the deep_sleep docs):
deep_sleep:
  run_duration: 30s
  sleep_duration: 30min
  wakeup_pin:
    number: GPIO25
    inverted: true
The docs’ example uses 10s and 10min; 30s and 30min is a tunable design choice. The pin wakes the chip early on water, and the timer produces periodic check-ins.
-
Under
api:, addreboot_timeout: 0s, a common pattern for sleeping nodes. -
Add a battery sensor:
sensor:
  - platform: adc
    pin: GPIO34
    attenuation: auto
    name: "Battery Voltage"
    filters:
      - multiply: 2.0
    update_interval: 60s
multiply: 2.0 undoes the divider. ESPHome recommends calibrated readings, so treat values as approximate. Keep the Grove sensor on the always-on 3V3 rail; power-gating it would break the wake logic.
Optionally, add an uptime sensor to confirm check-ins.
The Deep-Sleep Fine Print
While asleep, the node “will not do any work and not respond to any network traffic, even Over The Air updates,” per the deep_sleep docs. Updates require catching the node awake or powering it over USB. In Home Assistant, entities may show Unavailable between wakes; the docs say this usually means the component was added after pairing, so remove and re-add the device.
Battery Runtime: The Honest Arithmetic
Use this formula:
life_hours ≈ (capacity_mAh × 1000) ÷ (10 + board_overhead_µA + 21)
The 10 µA is Espressif’s chip figure. The 21 µA is the divider across 200 kΩ at 4.2 V (4.2 V ÷ 200 kΩ). The board_overhead term is the unknown: regulator and USB-serial quiescent draw, which no source used here specifies. Active windows add draw not included below.
| Assumed board overhead (the unknown) | Total sleep draw (10 µA chip + overhead + ~21 µA divider) | 150 mAh lasts (illustrative) |
|---|---|---|
| 0 µA (datasheet floor; unreachable on a dev board) | 31 µA | ≈4,800 h ≈ 200 days |
| 100 µA | 131 µA | ≈1,150 h ≈ 48 days |
| 500 µA | 531 µA | ≈280 h ≈ 12 days |
| 1,000 µA | 1,031 µA | ≈145 h ≈ 6 days |
Illustrative arithmetic only; nothing in this table was measured. On any plausible board overhead, 150 mAh is a days-to-weeks check-in sensor, not a multi-year node. This arithmetic is why Variant A is recommended.
Home Assistant: Sensor, Alert, Automation
Once the node joins, Home Assistant exposes the binary sensor as binary_sensor.water_leak. Its moisture device class reports Wet (on) and Dry (off), with the binary sensor docs listing the Moisture detected and Moisture cleared triggers.
What Shows Up in HA
The entity reports Wet or Dry. Its moisture.detected and moisture.cleared triggers let you build automations without parsing state strings.
The Alert Integration
Add this to configuration.yaml, following the alert docs. Replace mobile_app_your_phone with your own notify service.
alert:
  water_leak_alert:
    name: "Water leak detected"
    entity_id: binary_sensor.water_leak
    state: "on"
    repeat: [5, 10, 30, 60]
    can_acknowledge: true
    title: "Water leak"
    message: "The under-sink water sensor reports wet."
    done_message: "The under-sink water sensor is dry again."
    notifiers:
      - mobile_app_your_phone
The required keys are name, entity_id and repeat. state: "on" fires while the sensor is wet, repeat sets the reminder schedule in minutes, can_acknowledge lets you silence it, and notifiers names the delivery services.
The Wet-Notification Automation
This automation trigger sends an immediate notification once when the sensor turns wet.
automation:
  - alias: "Water leak immediate ping"
    trigger:
      - platform: state
        entity_id: binary_sensor.water_leak
        to: "on"
    action:
      - service: notify.mobile_app_your_phone
        data:
          title: "Water leak"
          message: "Under-sink sensor reports wet."
The alert nags on its repeat schedule until acknowledged. The automation pings immediately, once. Use both: the automation gives the first notice, and the alert keeps the leak visible until someone acts.
Testing and Verification
These six checks are for you to run on your own build:
- The ESPHome logs show the binary sensor change state when you bridge the traces with a wet fingertip.
- The Home Assistant entity toggles between Dry and Wet.
- The automation fires once on wet.
- The alert entity turns
on, repeats per its schedule, moves tooffwhen acknowledged, and sends thedone_messagewhen dry. - For Variant B, the logs show the run window, sleep, and early wake on water.
- The battery reading roughly matches pack voltage per the divider math, and you can compare it to a multimeter.
Making It Reliable: False Triggers and Corrosion
The Grove sensor classifies dry, damp, or immersed by conductivity, so condensation can read as damp. Seeed’s spec lists 10–90 %RH and 10–30 °C, so avoid hot water heaters and freezing spaces. Mitigations: keep the 10 ms filters (raise delayed_on in splashy spots, a design suggestion), keep the internal pull-up that stiffens the weak 1 MΩ high state, and mount the pad where pooled water reaches it first but dries quickly.
Exposed traces carrying a small DC current while wet are a community-reported corrosion route. Treat the pad as a consumable: inspect it, replace it when traces discolour, and dry it promptly after an event.
FAQ
Why does my sensor show Unavailable in Home Assistant?
In deep sleep, the node is offline between wakes, so its entities show Unavailable. The deep_sleep docs say this usually happens when the component was added after the device was paired, and the fix is to remove and re-add the device. Variant A, always-on, avoids this entirely because the node stays connected.
Can I OTA-update a sleeping node?
No. The deep_sleep docs state that a sleeping node will not respond to network traffic, including over-the-air updates. Catch the node during its awake window, or connect it over USB. For Variant B, plan updates around the run window.
Why GPIO25 and GPIO34?
GPIO25 is on ESPHome’s RTC wake-pin list, so a sleeping chip can wake when the sensor pulls the pin low. GPIO34 is in the ADC1 range (GPIO32–39), which is suitable for the battery divider. Each pin was chosen for one job, not for both.
Will condensation trigger the sensor?
It can. The Grove sensor reports damp as a distinct state, so condensation may read as a leak. Limit this with placement, the 10 ms debounce filters, and a mounting spot that stays within the 10–90 %RH and 10–30 °C spec. Raising delayed_on helps in splashy spots.
How long will the battery last?
This guide does not give a number. The runtime section provides a formula with the dev-board overhead as the unknown, and the table is illustrative only. Measure your own board’s sleep draw with a meter before relying on any estimate.
Why use an alert and an automation?
They do different jobs. The automation sends one immediate notification when the sensor turns wet. The alert repeats on its schedule until someone acknowledges it, and it sends a done message when the sensor dries. Using both gives you a fast first notice and a persistent reminder.
The Bottom Line
Build Variant A if you already run ESPHome and have an outlet nearby. It is the simplest, most reliable configuration, and it reports wet events immediately. Choose Variant B only if you accept check-ins and a costed battery, and buy a commercial puck if you need unattended battery operation for years. Related builds include the energy monitor project and the ESP32 Bluetooth proxy guide.
How This Guide Was Built
This guide draws on Espressif’s datasheet, ESPHome and Home Assistant documentation, Seeed’s Grove wiki, and Adafruit product pages. Prices were verified on 2026-11-07 for the HUZZAH32 and the 150 mAh LiPo only. Not verified: the development board’s deep-sleep current, battery runtimes, the Grove sensor’s price, and any hands-on build. This guide is assembled from official documentation, vendor datasheets, and community build reports — we did not build this unit ourselves.
← Back to guides