Local Voice Assistant Satellite with ESP32-S3: Build Guide
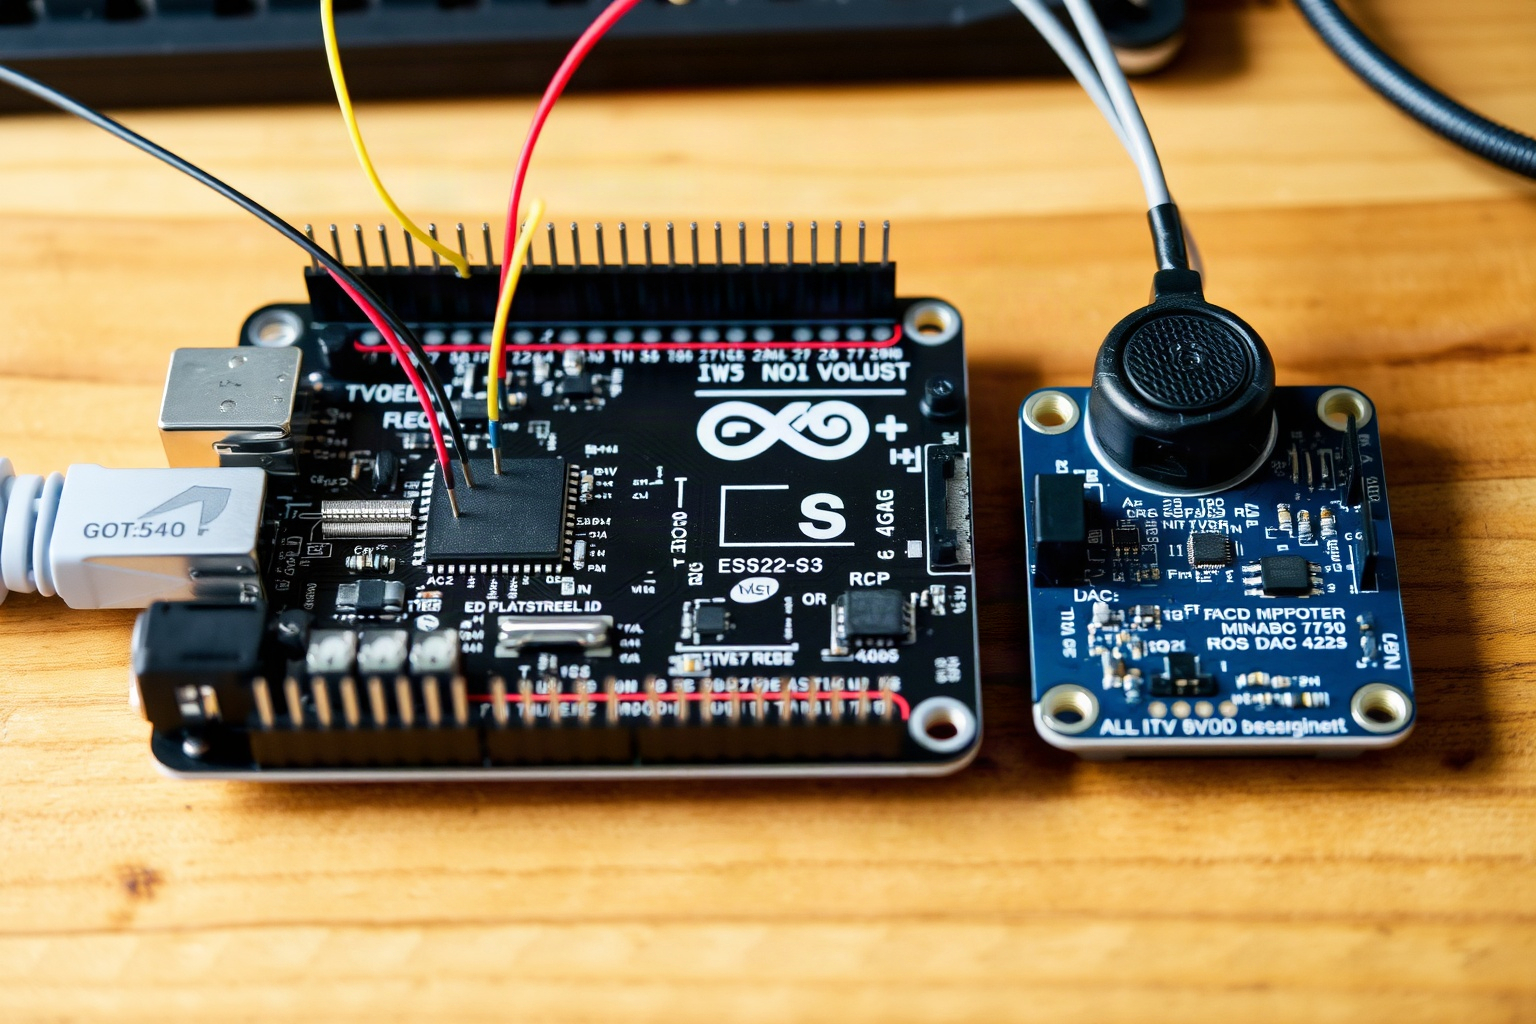
Local Voice Assistant Satellite with ESP32-S3: Build Guide
What You’re Building (and What It Isn’t)
A Wi-Fi satellite that runs wake-word detection locally on the ESP32-S3, streams speech to Home Assistant, and uses a fully local speech-to-text, conversation, and text-to-speech pipeline — no cloud. It requires Home Assistant 2023.5 or later. It is not a music-playing smart speaker replacement; it is a home-control voice interface for the local pipeline.
The shape of the system is simple. An I2S microphone feeds audio into the ESP32-S3. The chip runs its wake-word model on-device through ESPHome’s micro_wake_word framework (the model shown here is okay_nabu, or another you choose). Once the wake word fires, audio streams over your network to Home Assistant, which transcribes it with a local engine, runs it through the built-in conversation agent to control entities, and speaks a reply back through an I2S digital-to-analog converter.
That last part is what makes this a genuinely local assistant. Nothing needs to reach an external speech service at any stage. The Home Assistant docs describe the whole path on their local Assist pipeline page, and the firmware side is documented on ESPHome’s voice_assistant component page.
This guide is deliberately distinct from our earlier piece on the Voice Preview Edition hardware, which covers a commercially produced satellite. Here the hardware is commodity, the firmware is yours to configure, and the trade-offs (assembly effort, audio quality, enclosure work) land on you. Before you start, it is worth knowing that the official esphome/wake-word-voice-assistants repository ships reference firmware for several boards, including the ESP32-S3-BOX and the ESP32-S3-BOX-3. If you own a BOX-3, flashing that reference image is the lowest-effort path; this guide is for everyone else.
Parts List
Core parts are an ESP32-S3 dev board, an I2S microphone, an external I2S DAC, and a small speaker. The ESP32-S3-DevKitC-1 is a documented option from Espressif, and its user guide notes that most of the module’s I/O is broken out to headers, which is what you want for three I2S signal groups. Exact RAM and PSRAM figures for any particular variant are not verified here — check the module ordering code on your own board.
| Part | Role | Notes / verification status |
|---|---|---|
| Espressif ESP32-S3-DevKitC-1 (or compatible S3 board) | Main controller; runs wake word + streaming | Verified — Espressif user guide; ESP32-S3-WROOM-1/-1U/-2 modules, most I/O on headers |
| I2S MEMS microphone (ICS-43434) | Audio capture, 16 kHz / 16-bit / mono | Verified — named in the ESPHome I2S microphone docs |
| I2S MEMS microphone (INMP441) | Audio capture, common cheap alternative | Unverified pick — widely used in community builds, but not named in the fetched ESPHome doc; pinout unverified |
| External I2S DAC (ES8311 or ES8388) | Converts I2S audio to line/headphone out | Verified — named in the ESPHome I2S speaker docs |
| I2S amplifier breakout (MAX98357A style) | Audio out alternative | Unverified pick — common in community builds, not named in the fetched ESPHome doc; pinout unverified |
| Small 4Ω/8Ω speaker | audible replies | Generic; no specific model verified |
| 3.3 V supply, USB cable, hookup wire, enclosure | power and mechanical | Generic |
| PSRAM-equipped S3 module | headroom for audio buffers | Qualitative only — exact RAM/PSRAM counts unverified; audio components are documented as RAM/CPU hungry, so more headroom is better |
Prices are deliberately omitted: retail pricing is unverified, volatile, and not something this guide can stand behind.
Wiring
Wiring follows three I2S signal groups: microphone data in, DAC data out, plus shared clock pairs, power, and optionally I2C if your DAC needs register configuration. Exact GPIO numbers for any specific dev board are not verified in the sources behind this guide — check your board’s pinout before committing anything to solder. The table below gives signal roles and example pin numbers, which you must confirm.
| Signal | ESPHome key | Typical role | Verification note |
|---|---|---|---|
| Mic data | i2s_din_pin |
Mic → ESP32-S3 serial data | GPIO4 — example only, unverified; confirm on your board |
| Mic bit clock | i2s_bclk_pin (i2s_audio hub, shared) |
Shared bit clock | GPIO5 — example only, unverified |
| Mic word select | i2s_lrclk_pin (i2s_audio hub, shared) |
Shared word select | GPIO6 — example only, unverified |
| DAC data | i2s_dout_pin |
ESP32-S3 → DAC serial data | GPIO7 — example only, unverified |
| Power | 3V3 and GND | Mic and DAC supply | Verify logic level and current draw on your modules |
| Codec control | SDA / SCL (I2C) | ES8311/ES8388 register config | Only if your DAC board exposes it — unverified |
Two documented constraints matter here. First, the microphone must use adc_type: external; the internal ADC path is no longer supported. Second, avoid Bluetooth and BLE on this board — the ESPHome docs say Bluetooth/BLE is known to cause issues with Voice Assistant and other audio components. If you want presence-based triggering later, do it as a separate device rather than bolting a BLE stack onto this one — our mmWave presence sensor build shows that pattern on its own ESP32.
ESPHome Firmware
The firmware has five essential blocks: an I2S microphone, an external-DAC speaker, a micro_wake_word with a model such as okay_nabu, a voice_assistant that ties them together, and api/wifi. Capture is 16 kHz, 16-bit, mono per the docs. Keep the component list short — the docs warn that audio and voice components use significant RAM and CPU, and that crashes are likely with too many extra components.
esphome:
  name: esp32s3-voice-satellite
  friendly_name: Voice Satellite

esp32:
  board: esp32-s3-devkitc-1
  framework:
    type: esp-idf

# Example GPIO numbers only: confirm each against your board's pinout before flashing.
# The i2s_audio hub page was not fetched for this guide; verify the hub key names there.
i2s_audio:
  - id: i2s_bus
    i2s_lrclk_pin: GPIO6
    i2s_bclk_pin: GPIO5

microphone:
  - platform: i2s_audio
    id: mic
    i2s_audio_id: i2s_bus
    i2s_din_pin: GPIO4
    adc_type: external
    channel: left
    sample_rate: 16000
    bits_per_sample: 32bit

speaker:
  - platform: i2s_audio
    id: spk
    i2s_audio_id: i2s_bus
    i2s_dout_pin: GPIO7
    dac_type: external
    channel: mono
    sample_rate: 16000
    bits_per_sample: 16bit
    buffer_duration: 500ms

micro_wake_word:
  id: mww
  microphone: mic
  models:
    - model: okay_nabu
  on_wake_word_detected:
    - voice_assistant.start:
        wake_word: !lambda return wake_word;

voice_assistant:
  id: va
  microphone: mic
  micro_wake_word: mww
  speaker: spk
  use_wake_word: false
  conversation_timeout: 300s
  noise_suppression_level: 2
  auto_gain: 31dBFS
  volume_multiplier: 1.0
  on_end:
    - micro_wake_word.start:

switch:
  - platform: template
    name: "Voice Satellite Mute"
    turn_on_action:
      - voice_assistant.stop:
    turn_off_action:
      - voice_assistant.start:

logger:
api:
ota:
  platform: esphome
wifi:
  ssid: !secret wifi_ssid
  password: !secret wifi_password
The okay_nabu model name comes from the official ESPHome micro-wake-word-models repository; the underlying runtime is documented in the microWakeWord project. Pin lines and the numeric tuning values above are starting points, not verified defaults.
The micro_wake_word block
The models: list accepts a simple model name from the official repo or a github:// shorthand URL. Three knobs dominate behaviour. probability_cutoff sets the detection threshold — higher means fewer false accepts but more false rejects. sliding_window_size controls how many recent frames must agree — smaller means lower latency but more false accepts. An optional vad: model applies voice-activity filtering on top. stop_after_detection defaults to true, so on_wake_word_detected starts voice_assistant.start and passes the detected phrase with wake_word: !lambda return wake_word;, and on_end re-arms wake-word detection. Full options are on the micro_wake_word component page.
The voice_assistant block
This block binds a microphone, a micro_wake_word id, and audio output. You can give it a speaker or a media_player — never both. use_wake_word stays false here because micro_wake_word is handling detection on-device; the docs default it to false anyway. conversation_timeout defaults to 300 seconds. The three input-processing knobs are noise_suppression_level (0–4, default 0), auto_gain (0–31 dBFS, default 0), and volume_multiplier (default 1). The available actions are start, start_continuous, and stop, which the mute switch above exercises directly. See the voice_assistant reference.
Tuning knobs and the trade-off
Treat probability_cutoff and sliding_window_size as a paired dial. Raising the cutoff reduces false accepts at the cost of more missed commands; shrinking the window lowers wake latency but lets more stray audio through. The docs describe vad: as a filter for non-speech sounds that reduces false accepts, so enable it before raising the cutoff hard. Keep the rest of the firmware lean while you tune.
Home Assistant Local Pipeline Setup
Install one speech-to-text add-on (Speech-to-Phrase or Whisper) and Piper; they are discovered automatically via the Wyoming integration. Then open Settings → Voice assistants → Add assistant, set the Conversation agent to Home Assistant, and pick your STT and TTS engines per pipeline.
- Install the add-ons. Pick Speech-to-Phrase or Whisper for speech-to-text, and install Piper for text-to-speech. Upstream projects (linked from the HA docs) are OHF-voice/speech-to-phrase, openai/whisper, and OHF-Voice/piper1-gpl.
- Confirm Wyoming discovery. After starting the add-ons, the Wyoming integration should surface them automatically.
- Create the assistant. Settings → Voice assistants → Add assistant, with Conversation agent set to Home Assistant.
- Select engines. Choose one STT engine and Piper for TTS in that pipeline.
- Optional: “Acts as user.” Enable this if the assistant should act as your account for integrations that are linked to a specific user.
- Verify the satellite connects. The device should appear in Home Assistant and reach the
connectedstate used by thevoice_assistantcondition. Requires Home Assistant 2023.5 or later.
Choosing Your STT Engine
Speech-to-Phrase handles a fixed command set very quickly on modest hardware; Whisper handles open-ended speech but needs real compute. Pick based on the box running Home Assistant and whether you want only home control or general conversation. All latency figures below are as stated in the Home Assistant docs, not independent measurements.
| Feature | Speech-to-Phrase | Whisper |
|---|---|---|
| Vocabulary | Closed-set; home control phrasing | Open-ended; general speech |
| Latency on Raspberry Pi 4 | Under 1 second (per HA docs) | About 8 seconds (per HA docs) |
| Latency on Home Assistant Green | Under 1 second (per HA docs) | Not stated on that page |
| Latency on an Intel NUC | Not stated on that page | Under 1 second (per HA docs) |
| Hardware fit | Low-power boards (HA docs cite Green, Pi 4) | Heavier; HA docs cite an Intel NUC |
| Best for | Home control phrasing | Open-ended speech |
A reasonable default for a satellite whose only job is lights, scenes, and timers is Speech-to-Phrase plus Piper. Move to Whisper when you have the compute and want the assistant to understand anything you say.
Tuning and Troubleshooting
If the satellite wakes on television audio, enable vad: first, then raise probability_cutoff in small steps. If it misses your wake word, lower the cutoff or lengthen sliding_window_size slightly. On the input side, noise_suppression_level and auto_gain address room echo and quiet speakers respectively; volume_multiplier is the blunt instrument for output level.
If the board reboots or crashes under load, the documented cause is component pressure: audio and voice components consume significant RAM and CPU, and crashes are likely with too many extra components. Strip the config back, remove status lights, sensors, and anything non-audio, and only add features back one at a time. Note also that the ICS-43434 example in the microphone docs uses a 48 kHz sample rate with use_apll: true and left channel, while the generic defaults are 16 kHz, 32-bit, right channel, so match sample rate and channel to your actual mic.
What’s Next / Related
If you want to compare this against a polished commercial option, read the Voice Preview Edition build log. If you want the firmware authors’ own starting point, the wake-word-voice-assistants repo contains working configurations for the ESP32-S3-BOX, ESP32-S3-BOX-3, and ESP32-S3-BOX-Lite, plus other satellites. And for the trigger side of automation — waking a routine from presence rather than speech — our mmWave presence sensor guide covers the LD2410 approach on a separate ESP32.
FAQ
Can I use Bluetooth or BLE on the same ESP32-S3? Avoid it. The ESPHome docs say Bluetooth/BLE is known to cause issues with Voice Assistant and other audio components, and audio firmware also uses significant RAM and CPU. Keep this board audio-only and put any BLE integrations on separate hardware.
Can I use a media_player instead of the speaker component?
Yes. voice_assistant accepts either a speaker or a media_player for responses, but never both at the same time. Routing audio to a media_player lets the satellite hand replies to an existing speaker entity, which is convenient if you already have an ESPHome media player elsewhere in the room.
How do I reduce false wake-word triggers?
Raise probability_cutoff, which produces fewer false accepts but more false rejects, and enable the optional vad: model to filter non-speech first. A smaller sliding_window_size lowers latency but increases false accepts, so resist shrinking it while you are chasing spurious triggers in a noisy room.
Why does my board crash or reboot during use? The documented cause is resource pressure: audio and voice components use significant RAM and CPU, and crashes are likely with too many extra components. Remove non-essential components from the YAML, avoid Bluetooth and BLE entirely, and reintroduce features one at a time to find the tipping point.
Can I use two microphones on one satellite?
Yes. voice_assistant accepts a list of two microphone sources and streams both to Home Assistant, the first with more processing. The second channel needs Home Assistant 2026.6.0 or later; older versions ignore it.
The Bottom Line
A local voice satellite on the ESP32-S3 is very achievable from parts and documentation alone: a documented dev board, an I2S microphone, an external DAC, ESPHome firmware, and a Wyoming-backed local pipeline in Home Assistant. The limits are real: audio components are heavy on RAM and CPU, Bluetooth/BLE should stay off this board, and audio-quality tuning depends on hardware this guide could not verify. If you want zero assembly, buy reference hardware; if you want a satellite that answers only to your own server, this documented path is the one to follow, though it has not been built or tested for this guide.
How This Guide Was Built
This guide is assembled from official documentation, vendor datasheets, and community build reports — we did not build this unit ourselves. Every functional claim above traces to the ESPHome component documentation for micro_wake_word, voice_assistant, the I2S microphone, and the I2S speaker; to the Espressif ESP32-S3-DevKitC-1 user guide; and to Home Assistant’s local Assist documentation. Items marked unverified — specific breakout pinouts, concrete GPIO assignments, exact RAM/PSRAM counts, and all pricing — remain open questions you should confirm against your own hardware.
← Back to guides