DIY mmWave Presence Sensor with ESP32 and LD2410: Build Guide
DIY mmWave Presence Sensor with ESP32 and LD2410: Build Guide
Why mmWave Presence Instead of PIR?
A mmWave radar such as the LD2410 reports still targets as well as moving ones, so Home Assistant can tell a person walking through a room from a person sitting on the sofa. The ESPHome LD2410 component exposes this as a Presence binary sensor, plus separate moving and still distance readings. A passive infrared (PIR) sensor responds to changes in infrared, so it is a different kind of sensor for occupancy automations.
Honest Sourcing: What This Guide Is (and Isn’t)
This guide is assembled from official documentation, vendor datasheets, and community build reports — we did not build this unit ourselves. The configuration keys, UART constraints, and ESP32 notes below come from the ESPHome LD2410 component docs, the ESPHome UART bus docs, and the ESPHome ESP32 platform docs, so you can check each one before you build.
Two limits follow. Treat every gate threshold as a starting value, not a tuned optimum. Mounting height, detection angle, and range were not verified for this guide, so check the official datasheet and user manual linked from the ESPHome docs before choosing a mounting spot.
Parts You’ll Need
You need three things: an LD2410, LD2410B, or LD2410C radar module; an ESP32 board whose exact variant you can name; and jumper wires plus 5V and GND connections. Board SKUs and prices vary by vendor, so this guide states requirements instead of part numbers.
| Item | Requirement | Notes |
|---|---|---|
| Radar module | HI-LINK LD2410, LD2410B, or LD2410C | Similar protocol; all three are covered by the official ESPHome component |
| Microcontroller | ESP32-S3 (or another ESP32 variant, stated explicitly) | The variant must match your hardware or flashing fails |
| Wiring | Jumper wires for VCC, GND, TX, RX | Check hardware UART pins on your board’s pinout |
The three radar variants share a similar protocol and are supported by the same official component, so buy whichever one your supplier stocks. For the microcontroller, what matters is that you know its exact variant (esp32, esp32s3, esp32c3, and so on).
PIR, Radar, and Camera Compared
| Property | PIR | LD2410 mmWave (this build) | Camera-based detection |
|---|---|---|---|
| Detects still occupants | Not by design (depends on heat change) | Yes, reported as a separate still target | Yes, if the model runs on the frame |
| Data path | Usually a single digital output | UART to ESP32, exposed as ESPHome entities | Depends on the product |
| Local-only operation | Yes | Yes, with ESPHome and Home Assistant on your network | Varies by vendor |
| Privacy surface | None | No image data | Image data handled by the device |
Wiring the LD2410 to the ESP32
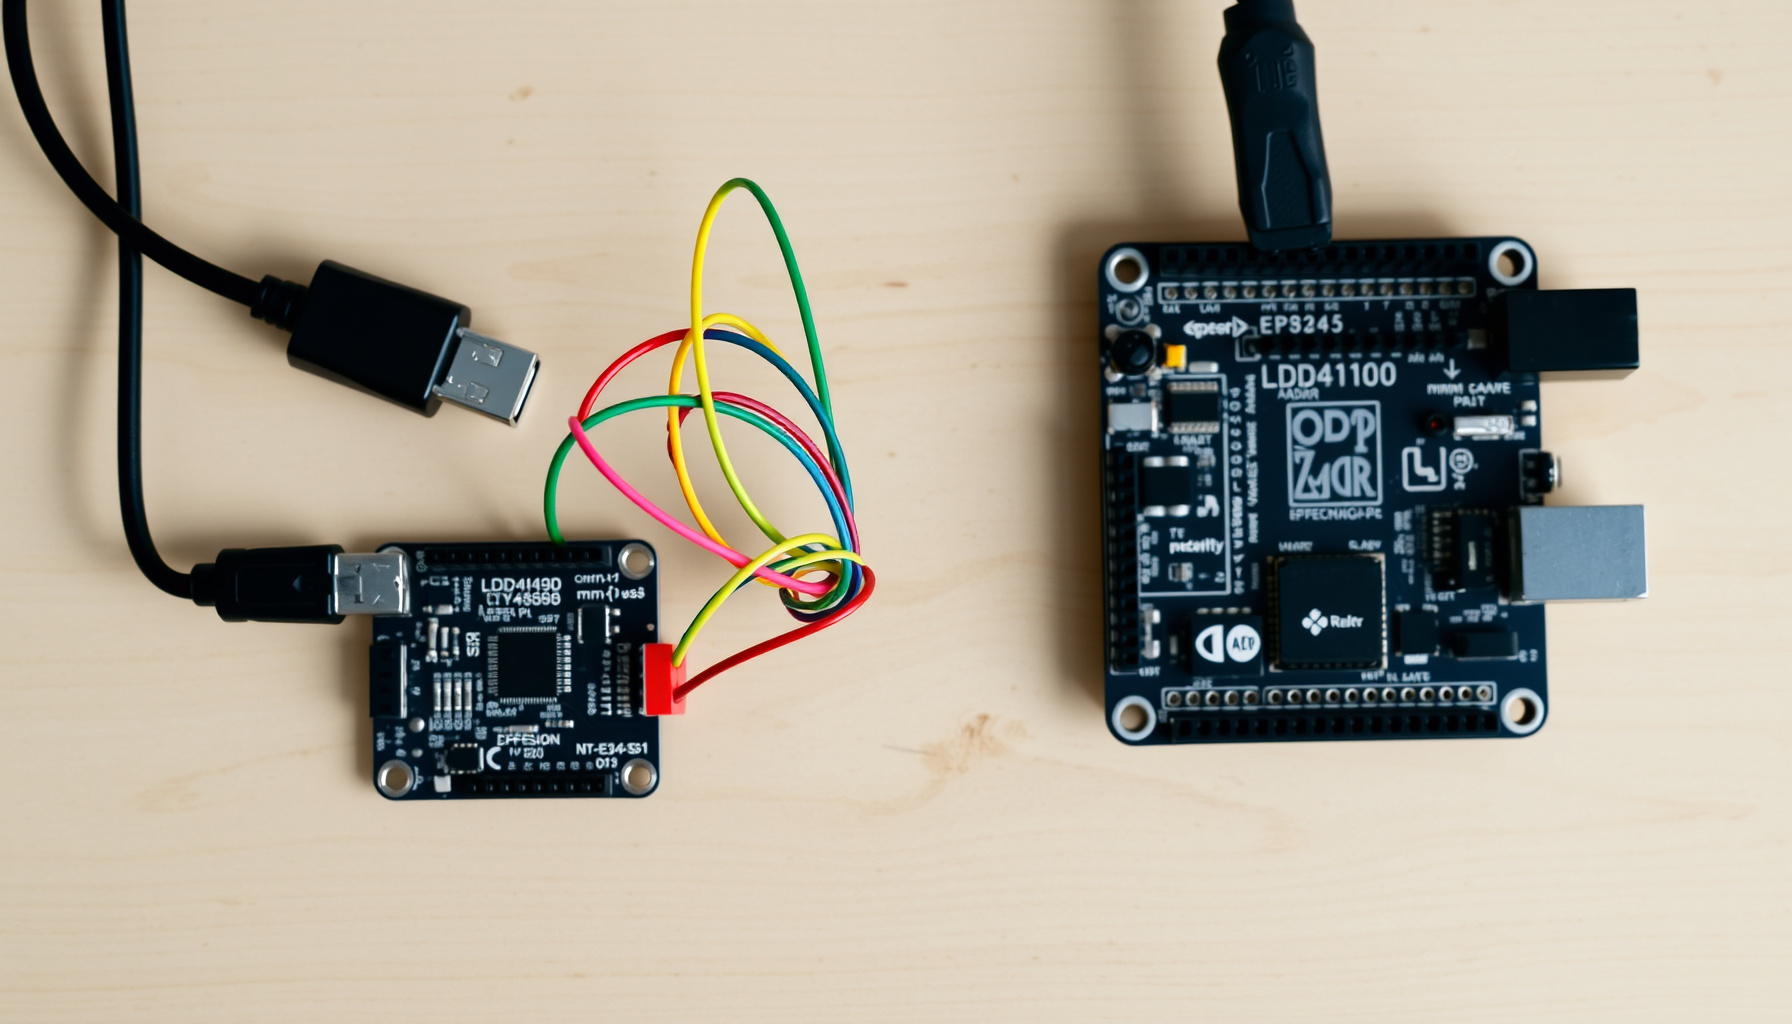
Connect VCC to 5V and GND to GND. Cross the data lines: the LD2410’s TX goes to the ESP32’s RX pin, and its RX goes to the ESP32’s TX pin. UART naming is from each device’s own viewpoint, so if no data arrives, swap the two lines. The sensor runs at 256000 baud out of the box, and the UART docs recommend hardware UART pins for it.
| LD2410 pin | ESP32 pin | Note |
|---|---|---|
| VCC | 5V (VIN/5V pin) | 5V supply |
| GND | GND | Common ground |
| TX | GPIO16 (RX) | Example only — confirm a hardware UART RX pin on your board |
| RX | GPIO17 (TX) | Example only — confirm a hardware UART TX pin on your board |
The GPIO16/GPIO17 pairing is an example. Hardware UART pins differ between ESP32 variants, so check your board’s pinout diagram. On ESP32, UART uses hardware units and is accurate at high baud rates. On ESP8266, software UART can glitch at rates like 256000, which is why this guide uses ESP32.
Flashing the ESPHome Firmware
Install ESPHome, create a device that matches your ESP32 variant, and flash over USB. Keep Wi-Fi credentials in a secrets.yaml file defining wifi_ssid and wifi_password, not in the main config. The getting started guide covers the CLI and dashboard setup.
Two flashing points from the ESP32 platform docs matter here. The flash_size default is 4MB, and declaring a larger size than your board has will fail to boot. If your board is one of the OEM modules rated only to 160MHz, a device that hangs at the default clock can be fixed with cpu_frequency: 160MHz.
The Complete ESPHome YAML
The config below sets the ESP32 variant, the UART bus at 256000 baud with parity NONE and stop_bits 1, the ld2410 component, and a Presence binary sensor with still and moving distance sensors. Adjust the variant and pins for your board before you flash.
esphome:
  name: mmwave-living-room
  friendly_name: Living Room Presence

esp32:
  variant: esp32s3
  # variant must match your hardware or flashing fails.
  # Change to esp32, esp32s2, esp32c3, etc. as appropriate.

logger:

api:
  # Native Home Assistant API; enables auto-discovery.

wifi:
  ssid: !secret wifi_ssid
  password: !secret wifi_password

uart:
  tx_pin: GPIO17   # example pin; confirm for your board
  rx_pin: GPIO16   # example pin; confirm for your board
  baud_rate: 256000
  parity: NONE     # required by the LD2410
  stop_bits: 1     # required by the LD2410

ld2410:

binary_sensor:
  - platform: ld2410
    has_target:
      name: Presence
    # Optional:
    # has_moving_target:
    #   name: Moving Target
    # has_still_target:
    #   name: Still Target

sensor:
  - platform: ld2410
    moving_distance:
      name: Moving Distance
      unit_of_measurement: cm
    still_distance:
      name: Still Distance
      unit_of_measurement: cm
    detection_distance:
      name: Detection Distance
      unit_of_measurement: cm

switch:
  - platform: ld2410
    engineering_mode:
      name: Engineering Mode
    bluetooth:
      name: Bluetooth
The binary_sensor and sensor platforms follow the ESPHome LD2410 component page, and the generic binary sensor, sensor, and switch platform pages describe the entity options. The wifi block is documented on the Wi-Fi component page, and the api block on the API component page. The has_target entity is the one to use for occupancy. Per-gate energies and the light reading appear only in engineering mode.
Tuning: Gates, Thresholds, and Engineering Mode
The LD2410 divides its range into gates g0–g8. Each gate has a move threshold and a still threshold, exposed as number entities, and the component also provides max_move_distance_gate, max_still_distance_gate, timeout, and light_threshold numbers.
Engineering mode exposes the per-gate energies, which otherwise read as unknown. The ESPHome docs note that it uses more resources and is not recommended unless needed. A reasonable approach is to enable it, watch the energy readings with the room in its normal state, note which gates respond, and then set thresholds with some margin above the empty-room readings. Turn engineering mode off afterward.
Adding It to Home Assistant
With the api block in place, the device connects to Home Assistant over the native ESPHome API. It appears as “Discovered” under Settings > Devices & services. Accept the notification, and the entities populate without manual YAML on the Home Assistant side. The Presence entity can then be used in the Home Assistant automation editor and in scripts, for example to keep lights on while someone is in the room.
Use Presence rather than the distance sensors as the main occupancy trigger. The distance sensors work as secondary signals, but their useful values depend on your room’s geometry, which you have to measure yourself.
Troubleshooting: No Data, Wrong Variant, Hung Board
Work through these in order:
- No data after flashing. Swap TX and RX. The UART docs note that pin naming depends on which device you are looking from. Then confirm you are on hardware UART pins.
- Flash fails or the board does not boot. Check
variant:against the actual chip. Checkflash_sizeagainst your board’s flash; a larger value than the board has will fail to boot. - Board hangs in operation. Some OEM ESP32 modules are rated only to 160MHz. Add
cpu_frequency: 160MHzunderesp32:. - Strapping pins. On the original ESP32, GPIO0 sets the boot mode, so avoid pulling it LOW at startup, and GPIO34–39 cannot be outputs. The ESP32 platform docs note that other variants use different boot-mode pins, so check your variant’s pinout.
For serial debugging, read the ESPHome log output during first boot to confirm whether the component is running.
FAQ
Do I need the LD2410B, or will the original LD2410 work?
The official ESPHome component supports the LD2410, LD2410B, and LD2410C, which share a similar protocol. The YAML in this guide applies to any of the three, so buy whichever one your supplier stocks.
Why does my sensor report nothing after flashing?
The most common first check is the TX/RX pair: UART naming depends on which device you are looking from, so swap the lines if no data arrives. Also confirm you are on hardware UART pins, because the sensor runs at 256000 baud.
What is engineering mode, and should I leave it on?
Engineering mode exposes per-gate energy readings and the light value. The ESPHome docs say it uses more resources and is not recommended unless needed. Turn it on while tuning, then turn it off.
Can I use an ESP8266 instead of an ESP32?
The community custom component demonstrates ESP8266 wiring, but this guide uses the official component on ESP32. ESP8266 software UART can glitch at 256000 baud, so ESP32 is the safer choice for this build.
How does the sensor show up in Home Assistant?
It connects over the native ESPHome API and is auto-discovered. Accept it under Settings > Devices & services, and the Presence and distance entities become available for automations.
Further Reading
- ESPHome LD2410 component — the authoritative entity and option list.
- ESPHome UART bus — baud rate, pin, and buffer options.
- ESPHome ESP32 platform — variants, flash size, and CPU frequency.
- Home Assistant ESPHome integration — discovery and the native API.
- Community LD2410 component by rain931215 — the community reference for the ESP8266 wiring example.
The Bottom Line
The recipe is short: wire VCC, GND, and a crossed TX/RX pair; match the ESP32 variant; set the UART to 256000 baud with parity NONE and stop_bits 1; and the official ESPHome LD2410 component exposes a Presence entity to Home Assistant. Everything stays on your local network.
What this guide cannot tell you is how the sensor performs in your room. Gate thresholds, mounting position, and false triggers depend on the space. Since we did not build this unit, treat the values here as a documented starting point. Start with the config above, check the gate energies in engineering mode, tune conservatively, and then build your automations.
← Back to guides