Home Assistant Complete Setup Guide 2026: From Zero to Your First Automation
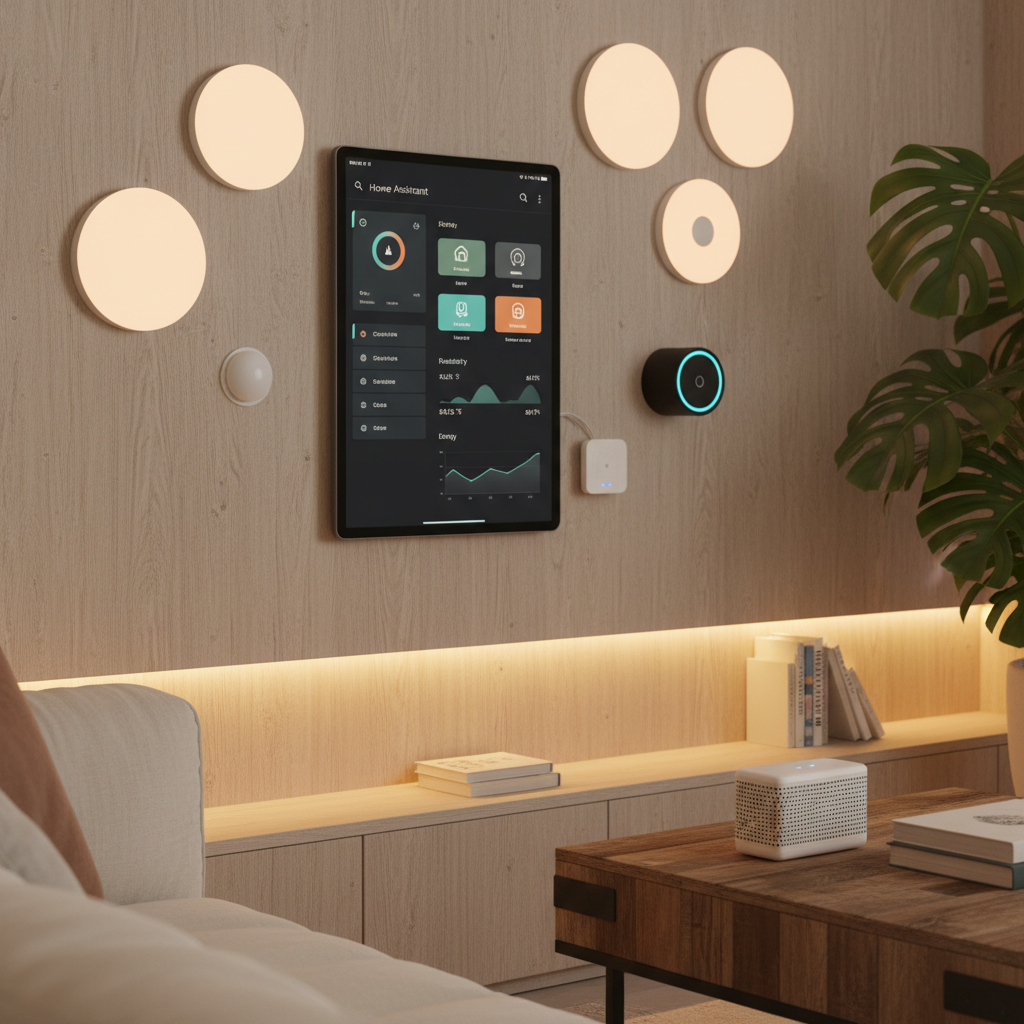
Why Home Assistant in 2026?
Smart home platforms have a dirty secret: most of them stop working when your internet goes down. Cloud-dependent hubs from Samsung, Amazon, and Google process automations on remote servers, and when those servers are unreachable, your lights don’t turn on, your thermostat doesn’t adjust, and your door locks won’t respond.
Home Assistant solves this. It runs entirely on hardware you control, processes everything locally, and supports over 1,000 integrations covering virtually every smart home device on the market [1]. In 2026, with Matter adoption accelerating and Thread mesh networks becoming common, Home Assistant has become the central nervous system for serious smart home setups.
This guide walks you from choosing hardware to writing your first automation. By the end, you’ll have a fully functional Home Assistant instance with device control, a polished dashboard, and automated routines.
Step 1: Choose Your Hardware
Home Assistant runs on almost anything — a Raspberry Pi, an old NUC, a used OptiPlex, or a Docker container on your NAS. For a first-time setup, two options dominate:
Raspberry Pi 5 ($80 kit)
The Pi 5 is the most popular Home Assistant host. The quad-core Cortex-A76 at 2.4 GHz with 8 GB of RAM handles HA OS comfortably [2]. A complete starter kit runs about $80-100:
- Raspberry Pi 5 with 8 GB RAM — $80
- Official 27W USB-C power supply — $12
- 64 GB microSD card (or NVMe hat + SSD for reliability) — $15
- Case with heatsink and fan — $10
- Home Assistant Green alternative: $199, includes 4 GB RAM, 32 GB eMMC, pre-loaded HA OS — just add a Zigbee dongle
Pi 5 pros: Low power (~5W), silent, compact, huge community. Pi 5 cons: microSD cards fail after 1-2 years of constant writes (use an SSD via NVMe hat), limited to 8 GB RAM, no built-in Zigbee or Z-Wave.
Intel NUC or Mini PC ($100-200 used)
An old Intel NUC or Dell OptiPlex Micro gives you real x86 performance with SATA or NVMe storage. A used NUC i3-8100 (8th gen) costs about $100-150 on eBay and far outperforms a Pi 5 for HA:
- 16-32 GB RAM headroom for add-ons (Frigate NVR, ESPHome, InfluxDB)
- NVMe SSD for reliable storage with no SD card corruption risk
- Runs HA OS, Docker, or a VM with multiple smart home services
NUC pros: Better performance, reliable storage, can run Frigate AI object detection alongside HA. NUC cons: Higher power draw (~15-30W), larger, more expensive upfront.
My recommendation for 2026: If you’re running 10-20 devices with basic automations, get a Raspberry Pi 5 with an NVMe hat and SSD ($110-120 total). If you plan to add security cameras, voice assistants, or 50+ devices, get a used mini PC — you’ll outgrow the Pi in a year.
Step 2: Install Home Assistant
Option A: Home Assistant OS (Recommended for Beginners)
HA OS is the full operating system — Linux + Home Assistant Core + Supervisor + add-ons. It’s the easiest path and auto-updates.
On Raspberry Pi 5:
- Download the Raspberry Pi Imager from raspberrypi.com/software
- Choose “Other specific-purpose OS > Home Assistant > Home Assistant OS 13.x (RPi 5/64-bit)”
- Write to your SD card or SSD
- Boot the Pi, wait 10-15 minutes for first-time setup
- Visit
http://homeassistant.local:8123in your browser
On a NUC/mini PC:
- Download HA OS generic x86-64 image from home-assistant.io/installation/generic-x86-64 [1]
- Write to a USB stick with Balena Etcher
- Boot from USB, install to the internal SSD
- Same URL:
http://homeassistant.local:8123
Option B: Docker (For Existing Servers)
If you already run a Linux server, Docker is clean and maintainable:
# docker-compose.yml
services:
  homeassistant:
    container_name: ha
    image: ghcr.io/home-assistant/home-assistant:stable
    volumes:
      - ./config:/config
    network_mode: host
    restart: unless-stopped
The onboarding wizard walks you through account creation, room setup, and device discovery. Devices on your local network (Wi-Fi bulbs, Sonos speakers, Plex) are auto-discovered.
Step 3: Choose Your Zigbee Strategy
Zigbee is the backbone of most DIY smart homes. You have two options for connecting Zigbee devices to Home Assistant.
ZHA (Built-in, Simpler)
ZHA (Zigbee Home Automation) is built directly into Home Assistant. Plug in a compatible Zigbee coordinator dongle, and HA detects it automatically:
Recommended dongles for ZHA:
- Home Assistant Connect ZBT-2 ($34.95) — Official HA hardware, based on Silicon Labs EFR32MG21, works perfectly with ZHA [3]
- Sonoff ZBDongle-P ($17.99) — Budget option, EFR32MG21 chip, same radio as ZBT-2
- Conbee II ($34.99) — Older but rock-solid, USB form factor
ZHA pros: Zero configuration, tightly integrated with HA entities, works with most Zigbee 3.0 devices. ZHA cons: Less device support than Zigbee2MQTT, fewer advanced features (binding, groups, reporting configurations limited).
Zigbee2MQTT (More Powerful, More Setup)
Zigbee2MQTT is a standalone application that bridges Zigbee devices to MQTT. It requires running an MQTT broker (Mosquitto add-on) and the Zigbee2MQTT add-on separately [4].
# In HA add-on store, install:
# 1. Mosquitto broker
# 2. Zigbee2MQTT
Zigbee2MQTT pros: Supports over 1,200 devices — including many that ZHA doesn’t recognize. Lets you configure reporting intervals, bind devices directly, and OTA-update firmware of Zigbee devices. Zigbee2MQTT cons: More complex setup, double the services running, one more thing to debug when devices go missing.
Which to choose? Start with ZHA. If you hit a device that isn’t supported (check the ZHA device database), switch to Zigbee2MQTT. About 80% of users never need to leave ZHA.
Z-Wave (Optional)
If you have Z-Wave devices (locks, sensors, switches), add a Zooz Z-Wave 800 Series USB stick ($39.99) and enable the Z-Wave JS integration in HA.
Step 4: Build Your Dashboard
Home Assistant’s default dashboard shows auto-discovered entities in a basic grid. For a real smart home interface, you’ll want to build a custom dashboard.
- Navigate to Settings > Dashboards > Add Dashboard > New Dashboard from Scratch
- Name it “Main” and select Visible
- Click the pencil icon to enter edit mode
- Use these cards for a clean layout:
# Dashboard section: Climate
type: vertical-stack
cards:
  - type: thermostat
    entity: climate.living_room_thermostat
  - type: sensor
    entity: sensor.office_temperature
    name: Office Temp
  - type: sensor
    entity: sensor.outdoor_temperature
    name: Outside

# Dashboard section: Lighting
type: horizontal-stack
cards:
  - type: light
    entity: light.kitchen
  - type: light
    entity: light.living_room
  - type: light
    entity: light.bedroom
Pro tip: Install the Mushroom card collection via HACS (Home Assistant Community Store) for modern, minimal cards with toggles, sliders, and chips. It’s the most popular dashboard upgrade [5].
To install HACS:
- Install the HACS add-on from the add-on store
- Restart HA
- Go to HACS > Frontend > search “Mushroom” and install
- Reload the page and add Mushroom cards to your dashboard
Step 5: Your First Automation
Time to make something happen automatically. We’ll write a simple automation that turns on the porch light at sunset and turns it off at sunrise.
Via the UI (Beginner)
- Go to Settings > Automations & Scenes > Create Automation
- Click “Add Trigger” > “Sun” > “Sunset”
- Click “Add Action” > “Call Service” >
light.turn_on - Set entity target to
light.porch - Add a second trigger for “Sunrise” with action
light.turn_off - Save
Via YAML (More Control)
Create or edit config/automations.yaml:
- id: 'porch_light_sun_sync'
  alias: 'Porch Light — Sunset On, Sunrise Off'
  description: 'Automatically control porch light based on sun position'
  trigger:
    - platform: sun
      event: sunset
      offset: '-00:30:00'  # 30 minutes before sunset
    - platform: sun
      event: sunrise
      offset: '00:00:00'
  action:
    - choose:
        - conditions:
            - condition: trigger
              id:
                - sunset
          sequence:
            - service: light.turn_on
              target:
                entity_id: light.porch
            - service: notify.mobile_app
              data:
                message: "Porch light turned on at sunset"
    - default:
        - service: light.turn_off
          target:
            entity_id: light.porch
This adds a 30-minute offset before sunset (so the light is on before it’s fully dark) and sends a notification when it activates.
Automation Pattern: Presence-Aware Climate Control
Here’s a more useful real-world pattern — adjust the thermostat when everyone leaves:
- id: 'away_eco_mode'
  alias: 'Set Eco Mode When Home Empty'
  trigger:
    - platform: state
      entity_id: binary_sensor.all_clear  # Created via presence group
      to: 'on'  # All persons away
  action:
    - service: climate.set_temperature
      target:
        entity_id: climate.living_room
      data:
        temperature: 62
    - service: climate.set_temperature
      target:
        entity_id: climate.bedroom
      data:
        temperature: 58
Combine this with a presence tracking group (phone Bluetooth, Wi-Fi presence, or GPS from the Home Assistant mobile app) and you save 15-25% on heating and cooling [6].
Essential Add-Ons for 2026
After the basics are running, install these:
| Add-on | Purpose |
|---|---|
| ESPHome | Build custom Wi-Fi sensors with ESP32/ESP8266 for $5-10 each |
| Frigate | AI-powered camera NVR with object detection (needs a NUC/Google Coral) |
| Studio Code Server | Edit YAML files in-browser with VS Code interface |
| Google Drive Backup | Automatic encrypted backups to your Google Drive |
| Node-RED | Visual flow-based automation editor for complex logic |
Common Pitfalls to Avoid
- Using microSD without an SSD — microSD cards wear out from HA’s constant logging. Use an NVMe hat or USB SSD from day one.
- Skipping backups — Configure automated backups before adding more than 10 devices. Restoring from scratch is painful.
- Running too many add-ons on a Pi — Frigate, InfluxDB, and Grafana together will choke 8 GB RAM. Use a NUC for camera setups.
- Not isolating IoT traffic — Put IoT devices on a separate VLAN with firewall rules. A compromised smart bulb should not reach your NAS.
Next Steps
Your Home Assistant instance is live, devices are connected, your dashboard looks good, and your first automation runs every night at sunset. From here, the path splits:
- Add sensors: Temperature, humidity, motion, contact, leak — Aqara makes excellent $15-25 Zigbee sensors that integrate in seconds
- Voice control: Configure the Assist pipeline for local voice control via ESP32-S3 satellites ($20 each, no cloud required)
- Energy monitoring: Use an Emporia Vue or Iotawatt with the Energy dashboard to track power consumption per circuit
- Security: Add Aqara U300 or Yale Assure Lock 2 for Z-Wave or Matter locks, and Frigate for camera-based person detection
Home Assistant is a journey, not a destination. Start simple, add one device or automation at a time, and you’ll build a smart home that genuinely makes your life better — without paying monthly fees or losing control when the internet goes down.
Sources: [1] Home Assistant installation docs — home-assistant.io/installation. [2] Raspberry Pi 5 specifications — raspberrypi.com. [3] Home Assistant Connect ZBT-2 — home-assistant.io/connectzbt2. [4] Zigbee2MQTT documentation — zigbee2mqtt.io. [5] Mushroom Cards by Paul Ant — github.com/piitaya/lovelace-mushroom. [6] Nabu Casa pricing — nabucasa.com/pricing.
References
[1] raspberrypi.com/software [2] home-assistant.io/installation/generic-x86-64 [3] ZHA device database
← Back to guides