Home Assistant Blueprints: Reuse Automations Without Rewriting YAML
Home Assistant Blueprints: Reuse Automations Without Rewriting YAML
If you have ever copied the same automation YAML to handle a second motion sensor or a second room, you have felt the maintenance problem blueprints solve. This guide answers one question explicitly:
How do I turn one working automation into a reusable blueprint — and when should I just import someone else’s instead of writing my own?
You will learn the three routes to a blueprint, how to convert your own automation with inputs, and how maintenance works over time. The tone is practical and vendor-neutral, focused on what the official documentation describes.
What a Blueprint Actually Is (and Why It Kills Copy-Paste YAML)
A blueprint is a script, automation, or template entity configuration where some parts are left blank as inputs, so one blueprint can be reused with different devices and settings, as described in the Blueprints documentation.
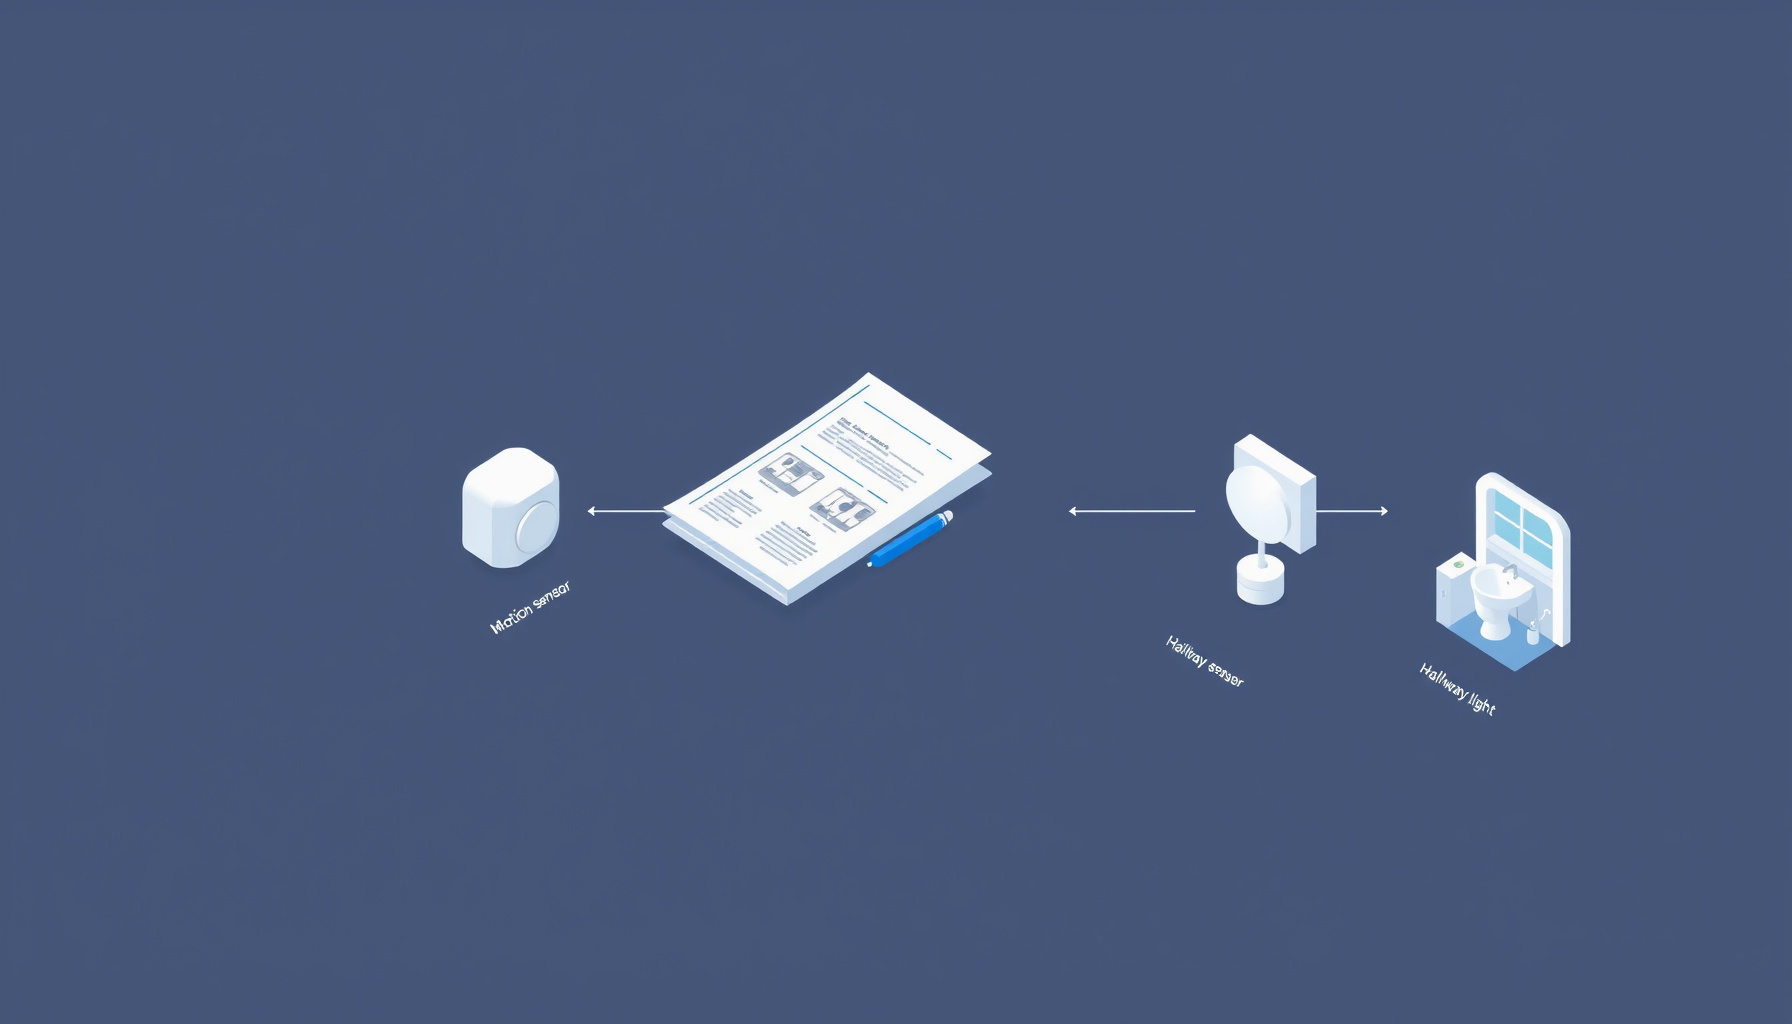
The canonical example is a generic motion-activated light. Instead of hardcoding binary_sensor.hallway_motion and light.hallway, the blueprint leaves motion sensor and light as inputs. You then create two independent automations from that one blueprint — one for the hallway and one for the bathroom — each with its own inputs and each running independently.
The key relationship to understand is inheritance: automations inherit from their blueprint, and a blueprint update reaches those automations after Home Assistant reloads them. That reload requirement matters for planning updates, and it is why blueprints are best for patterns you repeat, not for one-off automations you will only use once.
The Three Ways to Get a Blueprint (Choose Your Path)
Home Assistant offers three paths, and choosing up front saves time. The overview of these options is documented in Using automation blueprints.
- Built-in: ships with Home Assistant, zero importing, just fill in fields.
- Imported community blueprint: someone else solved your problem; you import by address and fill in fields.
- Your own blueprint converted from a working automation: you generalize YAML you already trust.
Built-ins mentioned in the docs include Motion-activated Light and Zone Notification, usable without importing. Community sources listed in the docs include the Home Assistant community forums, GitHub, GitHub gists, the Home Assistant website, or any other web address, with a trust confirmation for other addresses.
Use this comparison to decide:
| Built-in blueprint (e.g. Motion-activated Light) | Imported community blueprint | Hand-written automation (YAML/UI) | |
|---|---|---|---|
| Setup effort | None — ships with HA; pick it and fill fields | Low — paste URL, Preview, Import | Highest — write and maintain YAML yourself |
| Editability | Fill inputs only; Take control converts to a regular automation (one-way, cannot convert back) | Fill inputs; edit the imported file in blueprints/automation/ then reload automations |
Fully editable at any time |
| Update behaviour | Ships with Home Assistant; blueprint edits reach automations after a reload | Re-import blueprint overwrites current version; an incompatible re-import can break existing automations, requiring manual fixes; needs a source URL | You are the update mechanism — every change is manual, per automation |
| Reusing across devices | One blueprint, many independent automations (hallway + bathroom from one motion-light blueprint) | Same — one import, many automations | Requires duplicating YAML per device or room |
| Trust consideration | None — official | HA asks you to confirm you trust non-standard sources (forums, GitHub, gists, other addresses) | None — it is your code |
If your need matches a built-in exactly, start there. If a trusted community author has solved it, import. Write your own only when you have a working automation worth reusing.
Route A: Use a Built-In Blueprint in Two Minutes
This is the fastest win because there is nothing to install. According to the docs, the path is Settings > Automations & scenes > Blueprints, which can also be opened via the Blueprints menu.
Select the automation blueprint you want. The Type column shows which entries are automations. The automation editor opens with that blueprint selected. Fill the fields, then select Save. If no name exists yet, the docs describe entering a Name and saving again.
To change the automation later, go to Settings > Automations & scenes and open the automation. You remain in input-only mode — you fill the blueprint’s inputs rather than editing free-form YAML — unless you later choose to take control, which is covered in the maintenance section.
This route is ideal when you want a standard pattern without learning blueprint schema or selectors.
Route B: Import a Community Blueprint (with the Safety Checks)
Importing lets you reuse work published elsewhere without rewriting YAML. The documented sources include forums, GitHub, GitHub gists, the Home Assistant website, or any other web address, with a confirmation that you trust the source for other addresses, as explained in Using automation blueprints.
The documented steps are: go to Settings > Automations & scenes > Blueprints, choose Import blueprint in the bottom-right, enter the blueprint address, select Preview, then select Import blueprint. If the blueprint already exists, the button reads Override blueprint, and importing replaces the current version.
For practice, the docs point to the official motion_light.yaml on GitHub as an import address. Using an official file is a low-risk way to learn the flow before importing from less familiar sources.
A note on discovery: the Blueprint Exchange is the community forum for sharing blueprints. This guide does not describe its listings, counts, or posting rules, which it did not verify. Treat any non-standard address with the trust check the documentation describes, and prefer sources where you can read the YAML before importing.
Route C: Turn Your Own Automation into a Blueprint (the Main Tutorial)
This is the core skill: converting one working automation into something reusable. The official walkthrough is documented in Creating an automation blueprint, and the pattern below follows that tutorial’s motion-sensor example, with input names added.
Start from a working automation, for example a kitchen motion sensor turning a kitchen light on. Do not start from a broken automation; fix the logic first, then generalize.
Blueprint files are YAML and live in <config>/blueprints/automation/, and subdirectories are allowed. Create a file such as motion_light_tutorial.yaml and add a blueprint: header:
blueprint:
  name: Motion Light Tutorial
  description: Turn a light on based on detected motion.
  domain: automation
  input:
    motion_sensor:
      name: Motion Sensor
    target_light:
      name: Target Light
Next, replace hardcoded entity IDs with !input references. The tutorial replaces the sensor entity and the target object (its full action also uses a template to turn the light on or off; the snippet shows only the target input):
triggers:
  - trigger: state
    entity_id: !input motion_sensor
actions:
  - action: light.turn_on
    target: !input target_light
The important rule is that every input must be listed under input: in the metadata. In this example, motion_sensor and target_light are both declared, and the whole target object can be an input.
To use the blueprint from configuration.yaml, reference it with use_blueprint, a path, and an input map:
automation tutorial:
  use_blueprint:
    path: motion_light_tutorial.yaml
    input:
      motion_sensor: binary_sensor.kitchen
      target_light:
        entity_id: light.kitchen
Reload automations after saving or editing the blueprint file (Settings > Tools > YAML). Then the blueprint is available for creating automations by filling in those inputs for each room or device. One file serves many automations with no duplicated logic.
Blueprint Metadata: The Fields That Matter
Metadata is what keeps a blueprint valid and understandable to the next person. The full reference is the Blueprint schema.
Supported domains are automation, script, and template. The minimum required metadata is name and domain. A minimal header therefore identifies what the blueprint is and which domain it belongs to.
Optional fields add clarity and compatibility. description allows Markdown and is described as highly recommended. author identifies the creator. homeassistant and min_version communicate compatibility. The min_version format is major.minor.patch with all parts required, for example 2022.4.0, and the docs advise setting it if the blueprint uses recent features.
Inputs live under an input: map. Each input can have name, description, selector, and default. You reference an input in the blueprint body with the !input <name> YAML tag.
One version rule deserves attention: input sections, where an input key is nested inside a section, require version 2024.6.0 or later, so set min_version to at least 2024.6.0 if you use them. Setting the minimum honestly prevents confusing failures for users on older versions.
Selectors: Why Your Blueprint Feels Like a Native UI
Selectors determine whether filling in a blueprint feels guided or confusing. Without a selector, an input is a plain text field where the user must guess the value, as noted in the Blueprint schema. With selectors, the input renders as a proper widget and constrains accepted values.
The catalog of widgets and accepted values is documented in Selectors. Examples from the docs include action, which outputs a list of actions; area, which outputs an area ID or list; time, which outputs a 24-hour string like 23:59:59; trigger, which outputs a list of triggers; theme; and app, which is only on Home Assistant OS and outputs an app slug such as core_ssh. The selectors page lists about 40 selector types.
A common advanced pattern is letting the user supply triggers and merging them into the blueprint’s own triggers. The documented syntax for that merge is:
- triggers: !input my_trigger_inputWhen you author a blueprint, add a selector for every input where guessing would be error-prone. Entity, area, time, action, and trigger selectors turn a fragile text box into a native-feeling picker and reduce support questions.
Managing Blueprints Over Time: Take Control, Re-import, Manual Edits
Most tutorials stop at creation. Maintenance is where readers get surprised, so understand these behaviors as documented in Using automation blueprints.
Take control converts a blueprint-based automation into a regular editable automation. In the three-dot menu on the automation, choose Take control, select Yes, then Save. It cannot be converted back to a blueprint automation. The blueprint file itself does not change, and other automations using that blueprint keep using it. Take control is unavailable for automations not stored in automations.yaml or lacking an ID, and it can also be done before the first save in the editor.
Re-import updates an imported blueprint by overwriting the current version. In the three-dot menu on the blueprint, choose Re-import blueprint, then Re-import. The documented caution is direct: an incompatible re-import can break existing automations, and you may then have to adjust them manually.
Re-import only works for blueprints that have a source address. Without one, the menu shows Unable to re-import blueprint: no source URL. For manual fixes, blueprints live in the blueprints/automation/ directory. Edit the file, then reload automations. The directory path inside the blueprint folder is username plus name, derived from the forum topic title or GitHub file name.
Treat re-import as a deliberate change: check what changed, re-import, reload, and verify each dependent automation still behaves as expected.
What Blueprint Automations Inherit: Modes, Reloads, and Running States
A blueprint supplies inputs, but runtime behavior comes from automation semantics. Two ideas matter: reloads and modes.
First, updates reach automations after Home Assistant reloads them. Reload via Settings > Tools > YAML > Automations, or via the automation reload action, as described in Automations in YAML. That page also documents automation-level fields including alias, id, description, initial_state, mode with a default of single, max for queued and parallel modes with a minimum of 2 and default of 10, and max_exceeded with a default of warning where silent suppresses the warning. It also notes the UI writes automations to automations.yaml, which should not be hand-edited.
Second, modes control what happens when an automation is triggered while already running, as detailed in Automation modes. Single is the default: new starts are ignored while running and log a warning such as Already running. Restart stops the current run, including delays, and starts a new run. Queued runs executions in order after previous runs, joining the queue only if conditions are met at start, with max default 10 and minimum 2. Parallel runs independent executions side by side, with max counting concurrent runs.
A Home Assistant restart stops all runs, and a delay or For at least period in progress is lost. Saving or reloading a changed automation stops its run, and disabling an automation stops running actions. Because restarts drop delays, the docs recommend a timer helper instead of a long delay where continuity matters. Choose the mode in the automation that uses the blueprint, keep delays short or timer-based, and remember that inheritance does not protect an in-progress run from a reload.
FAQ
If I update a blueprint, do my existing automations update too? Yes, automations inherit from their blueprint, but changes reach them only after Home Assistant reloads the automations. Reload via Settings > Tools > YAML > Automations or the automation reload action described in Automations in YAML.
Can I convert it back to a blueprint automation after taking control? No. Take control is one-way. It converts to a regular editable automation and cannot be converted back, as documented in Using automation blueprints. The blueprint file is unchanged and other automations keep using it.
Why does Re-import blueprint say it cannot re-import?
Re-import only works for blueprints imported with a source address. Without one, the menu shows Unable to re-import blueprint: no source URL. You can still edit the file manually in blueprints/automation/ and reload automations.
What happens if a re-imported blueprint is incompatible with my automations? It can break existing automations, and you may have to adjust them manually. Re-import overwrites the current blueprint version, so review changes before updating.
Why do some blueprint inputs show a text box instead of a picker?
The author did not define a selector for that input, so you get a plain text field and must guess the correct value. Well-made blueprints use selectors documented in Selectors to provide proper widgets for entities, areas, times, actions, triggers, and more.
How This Guide Was Built
This guide was written from the official Home Assistant documentation (docs version 2026.10.2, fetched 2026-10-23): the blueprints overview, using-blueprints, schema, selectors, tutorial, automation YAML, and automation modes pages. No hands-on testing was performed — no live Home Assistant instance was used, and every menu path, button label, and behavior described here is stated as the official documentation describes it, not as a firsthand observation. The Blueprint Exchange forum page was not verified, so nothing is claimed about its listings or rules beyond what the official tutorial page itself states.
The Bottom Line
Blueprints are the right tool when an automation pattern repeats across devices or rooms — one motion-light blueprint cleanly serves the hallway and the bathroom with zero duplicated YAML. Start with built-ins for zero effort, import community blueprints when a trusted author has already solved your problem, and write your own only when you already have a working automation to convert by replacing hardcoded IDs with !input. The trade-off to accept is that blueprint automations are input-only until you Take control, which is a one-way conversion, and re-imports can break things if versions drift. In short: blueprints for patterns, hand-written automations for one-offs.
📖 Related Reads
- NoCode Insider — AI workflow automation with no-code tools, agents, and APIs
- ToolBrain — tool reviews, LLM comparisons, and AI workflow guides
Cross-links automatically generated from SmartHome Field Guide.
← Back to guides