How to Set Up Frigate NVR with Home Assistant: Getting Started in 2026
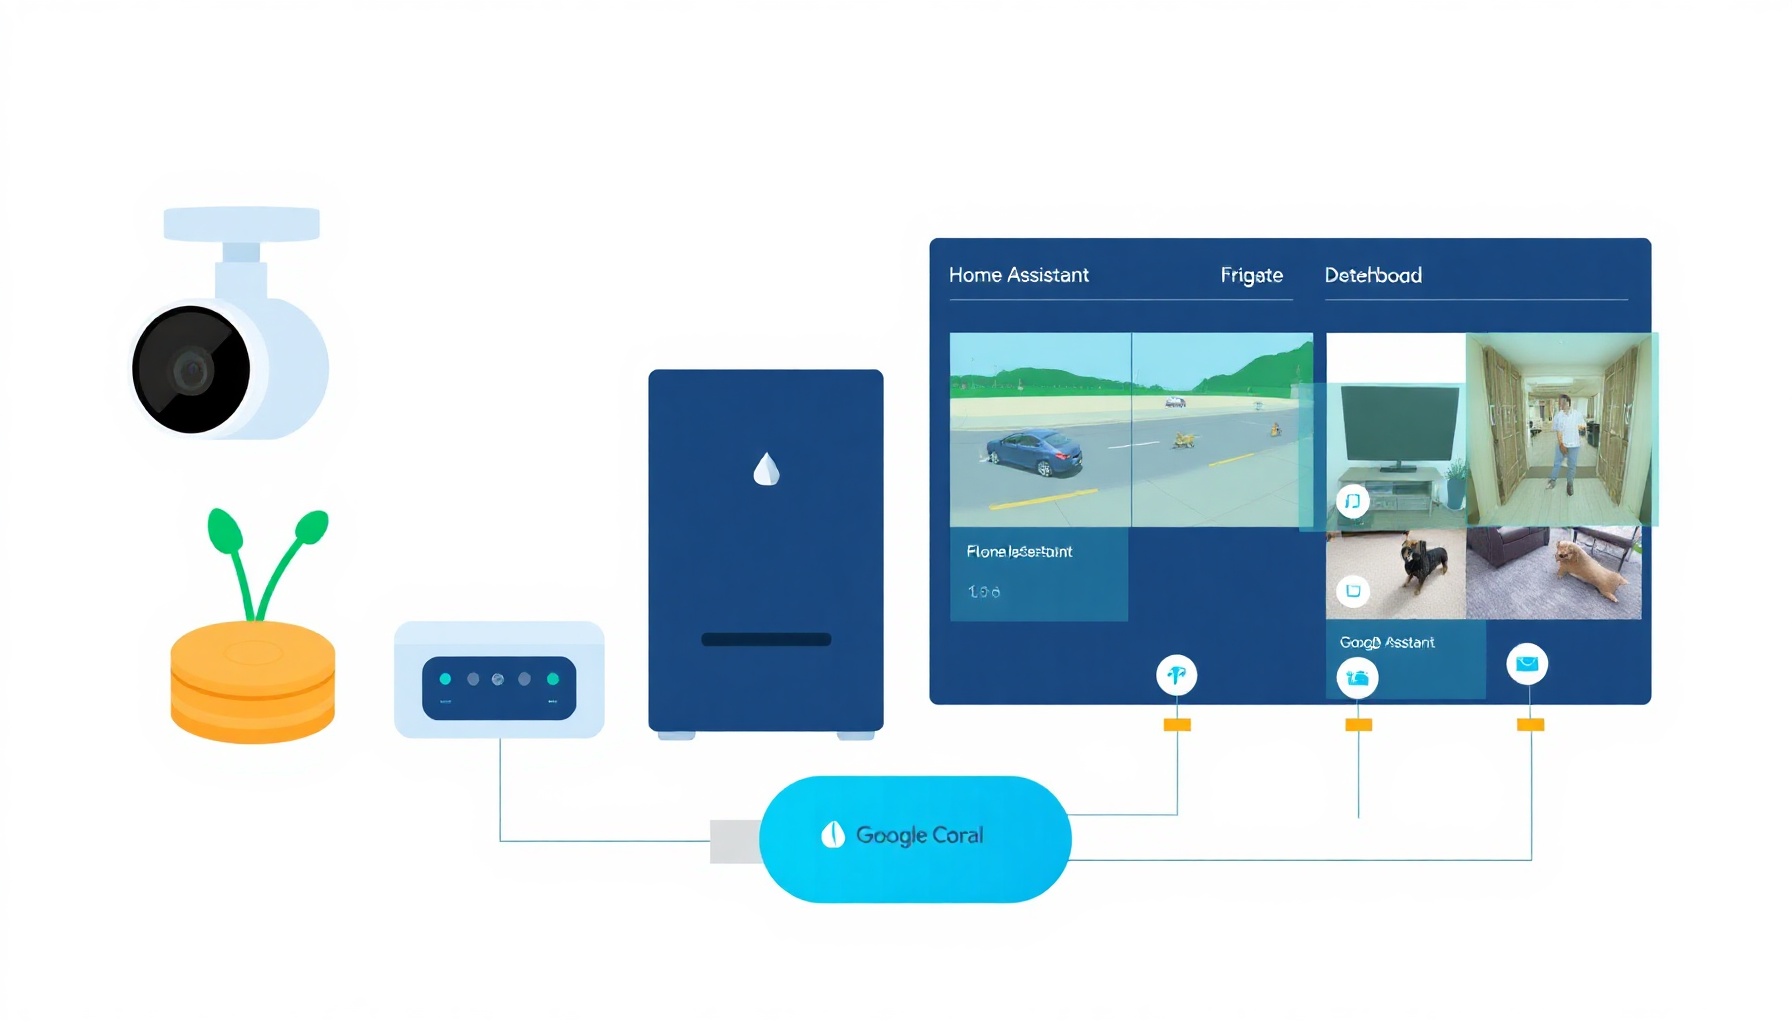
Frigate NVR is the best way to add AI-powered object detection to your Home Assistant setup without paying monthly cloud fees. It runs entirely on your hardware, watching your camera feeds locally and alerting you only when it sees a person, car, or animal. This guide walks you through the entire process, from hardware choices to camera configuration, so you can have a privacy-first security system running this weekend.
How This Guide Was Built
This guide is based on the official Frigate documentation, the Home Assistant integration docs, and community reports from GitHub discussions. We verified installation steps, config syntax, hardware requirements, and MQTT setup against these sources. We did not test enterprise multi-site deployments or Frigate+ paid models. Last verified: August 2026.
What Frigate NVR Does
Frigate is a local network video recorder that uses AI to detect objects in real-time. Unlike cloud-based cameras that send footage to third-party servers, Frigate processes everything on your hardware using OpenCV and TensorFlow, per the official Frigate overview. It integrates directly with Home Assistant, giving you rich sensors like “person detected on front porch” that you can use in automations. No subscription, no cloud dependency, and your footage stays on your network.
What You’ll Need
Before we start, gather your hardware. Here’s the minimum checklist:
- Docker host: A Debian-based machine (like a Beelink EQ13 mini PC or an old laptop). Windows is not officially supported for the Frigate container.
- IP camera: Any camera that supports RTSP streaming with H.264 encoding. Dahua and Hikvision are reliable picks; Amcrest is a rebranded Dahua. Stick to 5MP or less if you use Reolink.
- Optional AI detector: A Google Coral USB stick or Hailo-8 module. These offload detection from your CPU. You can start without one, but performance will suffer with multiple cameras.
- MQTT broker: You need one running for Home Assistant and Frigate to talk. If you already run the Mosquitto add-on in HA, you’re set.
If you’re still deciding on a server, our Home Assistant hardware comparison covers the best mini PCs for running Frigate alongside HA.
How do I get started with Frigate NVR?
Getting started with Frigate NVR for beginners means installing the Docker container, creating a minimal config file, and pointing it at your camera’s RTSP stream. The official Frigate installation guide walks you through the exact commands, which we’ll summarize here.
First, create a directory for Frigate’s config and media files. Then, run the container with Docker, mapping ports 8971, 5000, 8554, and 8555. Port 8971 serves the web UI and API with authentication; 8554 and 8555 handle RTSP restreaming and WebRTC. Mount your config file, a media directory for recordings, and a tmpfs for cache. After the container starts, open http://your-server-ip:8971 and log in with the default credentials from your config.
Your config.yml starts simple. Define your MQTT broker connection and your cameras under the cameras key. Each camera needs a name, an RTSP URL, and detection settings. Here’s a bare-bones example:
mqtt:
  host: 192.168.1.10
  user: mqtt_user
  password: mqtt_password

cameras:
  front_door:
    ffmpeg:
      inputs:
        - path: rtsp://user:pass@192.168.1.20:554/stream1
          roles:
            - detect
    detect:
      width: 1280
      height: 720
Configuring Your First Camera
Camera configuration is where most beginners stumble. The key is understanding the difference between your camera’s main stream and its substream. The main stream is high-resolution (like 4K) and is used for recordings. The substream is lower resolution (like 720p) and is what Frigate uses for detection. Using the substream for detection saves CPU and makes motion detection snappier.
In your config, add both streams to the camera’s ffmpeg inputs. Give the substream the detect role and the main stream the record role. This way, Frigate analyzes the lightweight stream for motion and objects, then saves high-quality footage when something happens.
You also need to set the shm-size for the container. The default 64MB is too low and causes crashes, per the Frigate installation docs. Use 128MB for two cameras at 720p, or calculate it with this formula per camera: (width * height * 1.5 * 20 + 270480) / 1048576 MB. For a 1280x720 stream, that’s roughly 27MB per camera. Add a buffer and set it in your Docker run command with --shm-size=128m.
Connecting Frigate to Home Assistant
Connecting Frigate to Home Assistant requires two things: MQTT and the integration. Frigate publishes all its events and sensors to MQTT, and the Home Assistant integration subscribes to those topics. If you haven’t set up MQTT in HA yet, follow the official MQTT integration guide first.
Once MQTT is running, install the Frigate integration via HACS. In HACS, search for “Frigate,” install it, and restart Home Assistant. After the restart, go to Settings > Devices & Services > Add Integration and search for “Frigate.” Enter your Frigate server URL (like http://your-server-ip:8971) and the authentication token from your config. The Frigate HASS integration auto-discovers your cameras and creates entities for detection events, camera snapshots, and recording clips.
You’ll now see binary sensors like binary_sensor.front_door_person that turn on when Frigate detects a person on that camera. These entities are the building blocks for your automations. If you’re new to Home Assistant itself, start with our Home Assistant setup guide to get the foundation right.
Setting Up Notifications and Zones
Zones let you define specific areas within a camera’s view, like a driveway or a walkway. Frigate only triggers detection events for objects that enter these zones. This cuts down on false positives from cars passing on the street or tree branches moving in the wind.
To create a zone, add a zones section under your camera in the config. Define a polygon by specifying a list of x,y coordinates (in percentages of the frame). For example:
cameras:
  front_door:
    zones:
      porch:
        coordinates: 10,10, 50,10, 50,90, 10,90
Then, in Home Assistant, create an automation that triggers when the front_door_person binary sensor turns on. Use a notification service like notify.mobile_app_iphone to send a snapshot from the camera. Frigate provides a snapshot URL that includes the latest frame where the object was detected, so you can see what happened right in the notification.
Common Mistakes
Avoid these pitfalls to save yourself hours of troubleshooting.
- WiFi cameras: Streaming video over WiFi causes dropped frames and laggy detection. Run your cameras on Ethernet whenever possible.
- Insufficient shm-size: The default 64MB shared memory crashes Frigate with multiple cameras. Use the formula above to set a proper value.
- No substream for detection: Using the main 4K stream for detection overloads your CPU. Always configure the substream for the
detectrole. - CPU-only detection for many cameras: A Coral or Hailo detector handles AI inference efficiently. Without one, a single camera might use 50% of your CPU per the Frigate hardware docs. For production use, get a detector. The Coral handles detection only; your CPU or GPU still decodes video via hardware acceleration.
FAQ
Do I need a Google Coral for Frigate to work?
No, but it’s strongly recommended for more than one camera. Frigate works with CPU-only detection, but performance suffers. A Coral USB stick handles the AI inference, freeing your CPU for video decoding. For a single camera at 720p, CPU-only is acceptable for testing.
Can I use Frigate with cloud-based cameras like Ring or Nest?
Not directly. Frigate needs an RTSP stream from your camera, per the official hardware guide. Cloud-only cameras don’t expose this stream. You need an IP camera that supports RTSP, like Dahua or Hikvision models.
How much storage do I need for recordings?
It depends on your camera resolution and retention days. Frigate supports continuous recording plus event clips, so you can keep only motion-triggered clips to save space. Plan for roughly 200GB for a week of 2MP camera footage.
Where to Go Next
Now that you have Frigate running and cameras detected, explore more advanced features. Check out the official Frigate docs for details on hardware acceleration, multi-camera setups, and the Frigate+ paid model for improved detection. You might also want to review our privacy-first Home Assistant build log for ideas on keeping your whole setup local and hardened.
📖 Related Reads
- ToolBrain — tool reviews, LLM comparisons, and AI workflow guides
Cross-links automatically generated from SmartHome Field Guide.
← Back to guides